How to Install WordPress plugin perfectly: Step by Step Beginners Guide

WordPress is the most effective versatile content management system in effect today. It is an amazing platform for a variety of websites. The best part is that it’s completely free and open to customization! You can enhance many features and add to the functionalities of WordPress using the WordPress plugins. Are you new to WordPress? Wondering ‘how to install a WordPress plugin perfectly?’ Well, we have got you covered!
Plugins help you add amazing features like a gallery, social media integrations, directory, and much more! So, you can soon install a plugin as we present a step by step guide to install WordPress plugin perfectly!
Let’s Start!
The foremost thing to do before you install WordPress plugin is to make sure you are using the WordPress.org and not WordPress.com.
WordPress.org is a free platform that enables you to maintain a self-hosted account. You can find several free WordPress software that you can download and install on your web server.
The WordPress.com is also a free platform but with certain limitations when it comes to managing the content. It takes care of all the hosting for you. It is more of a publishing platform where you can start your blogs and share your ideas.
However, you cannot use WordPress.com as a marketing channel. You are restricted from writing paid posts, sell links or review products. Besides, this platform does not allow you to download or install third-party plugins.
So, if you are desiring complete control over your website, wishing to use ad networks or planning to make money from your blogs; it’s high time you switch to WordPress.org.
How to Install a WordPress Plugin?
You might be expecting a herculean task, but it’s not that tough! We have simplified things and created a step-by-step guide for you! Just check out! easy steps on how to install WordPress plugins!
So basically, there are 3 ways to install WordPress Plugin.
- Search and install the WordPress plugin from Dashboard
- Upload through the ‘Upload Plugin’ and install
- Using FTP and manually install WordPress plugin
1. Search and Install WordPress plugin from Dashboard
Now this one is the easiest method to install a WordPress Plugin! You just simply need to visit the WordPress Admin area. At the dashboard click on Plugins and select Add new.
A screen will appear as shown below.
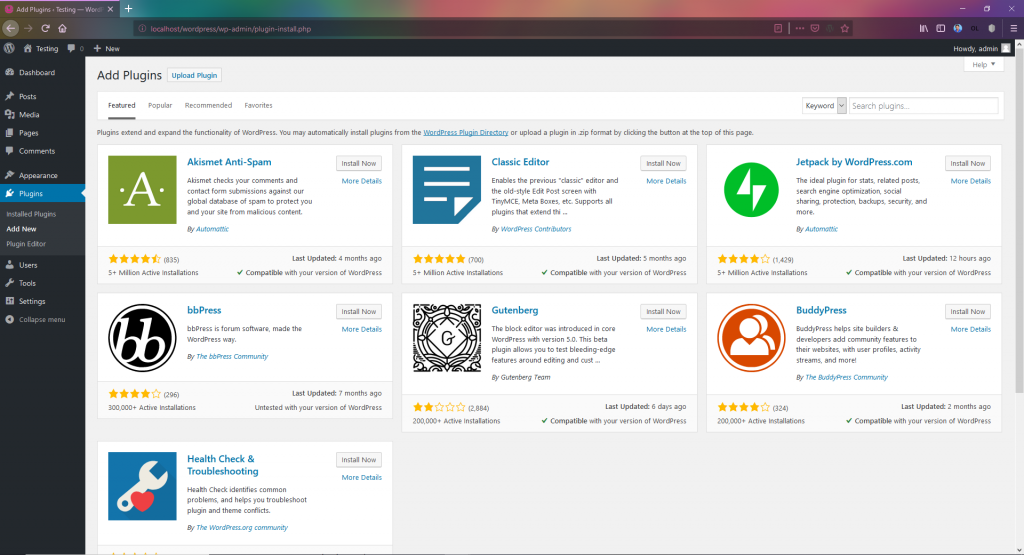
All you need to do now is search a plugin or functionality you are seeking for in the search box located at the top right.
However, there is a disadvantage to this option that you can only use the limited free plugins available in the WordPress Plugin directory.
A bunch of listing will appear as a result of your search. Clicking on ‘More Details’ option you can obtain more information about the plugin. Here you can find out the compatibility of the plugin and read detailed documentation.
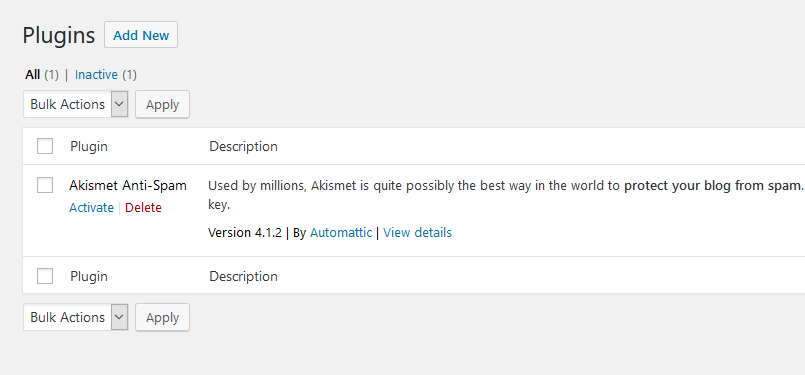
After adequate analysis, choose the plugin that is best for you and click on Install now. After installing you must Activate the plugin to make it work on your WordPress site. After activating the plugin, you must configure the settings. Make sure you configure it properly before use.
So, now you have successfully installed your plugin! You will be notified about the activation of the Plugin by WordPress through a small note at the top of the page.
2. Upload through ‘Upload Plugin’ and Install
The next step to install WordPress plugin is a bit different. Now you might be thinking ‘Why would I do that when installing a plugin from the dashboard is so easy? Well, it is so because the paid plugins are not available in the official WordPress plugin directory. So, it is not possible to install them from the previous method.
You might have purchased a premium plugin that is perfect for your website. To install such plugins, the only option for you is to install it via the ‘Upload Plugin’ button in the admin area.
Now, let us see how we can download a premium WordPress plugin!
First, you need to purchase the desired plugin from a plugin store. Once downloaded, you will get a zip file of the plugin.
Next, you need to visit the Admin area. Form Dashboard, you need to choose ‘Plugins’ and then ‘Add New’. Then click on ‘Upload Plugins’.
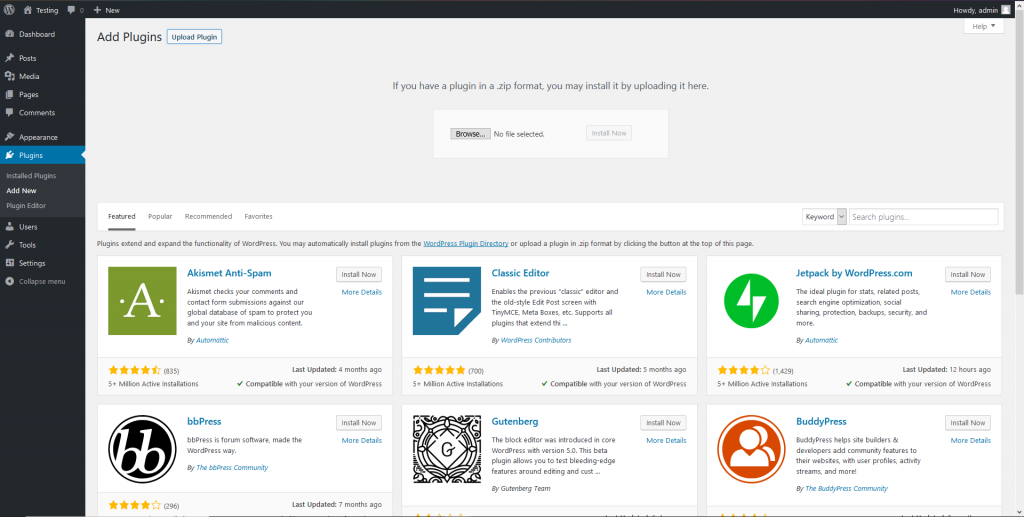
You will be brought to the ‘Plugin Upload’ Page. Click on ‘Choose file’ button, browse and select the Premium WordPress Plugin file you downloaded earlier. After selecting the plugin file in .zip format, click on ‘Install Now’. The .zip file gets downloaded directly.
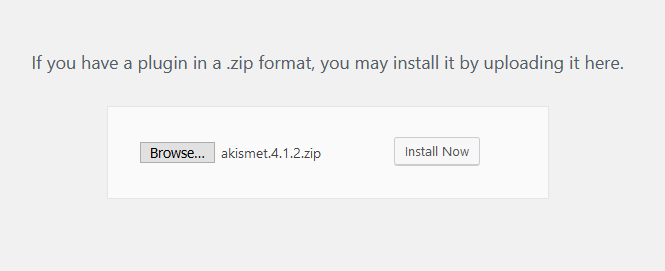
Remember that currently only the .zip formats are accepted by WordPress.
The last thing to do is configure the settings to your requirements- and it’s ready!
3. Using FTP and Manually Install WordPress Plugin
Now comes the third technique where you can manually install a WordPress Plugin. As a beginner, you may not find this method very easy! However, you can use this technique when you are restricted to install a plugin from the admin area. This happens mainly due to file restrictions of the WordPress Hosting.
So, installing a plugin manually using FTP is the best option in such a case. This method is also useful to know when WordPress plugin directory is unavailable or down and also to fix common WordPress errors.
There are plenty of free and paid FTP clients available. An FTP or File Transfer Protocol lets you upload files from your computer to your WordPress site. An FTP client is mandatory if you want to use FTP. An FTP client is a desktop app that connects your computer to your WordPress hosting account. It acts as a reliable means to transfer data from your computer through a remote host. You can choose from several FTP Clients such as Cyberduck, FileZilla, Transmit, Free FTP etc.
So, let’s see how it’s done.
Firstly, you need an FTP Client Ready. You must get your FTP User Id and Password. Remember that Port: 21 is for FTP and 22 is for SFTP

Then you need to download the source file of the plugin which will be available in a .zip format. You must unzip and extract the file into an accessible location on your computer.
Next, using the FTP manager you must access your host. Connect to your site’s server by opening the FTP client on your computer. Connect to your website using the FTP User Id and Password provided by Webhosting provider.
Once connected, you need to navigate to the /wp-content/plugins directory.
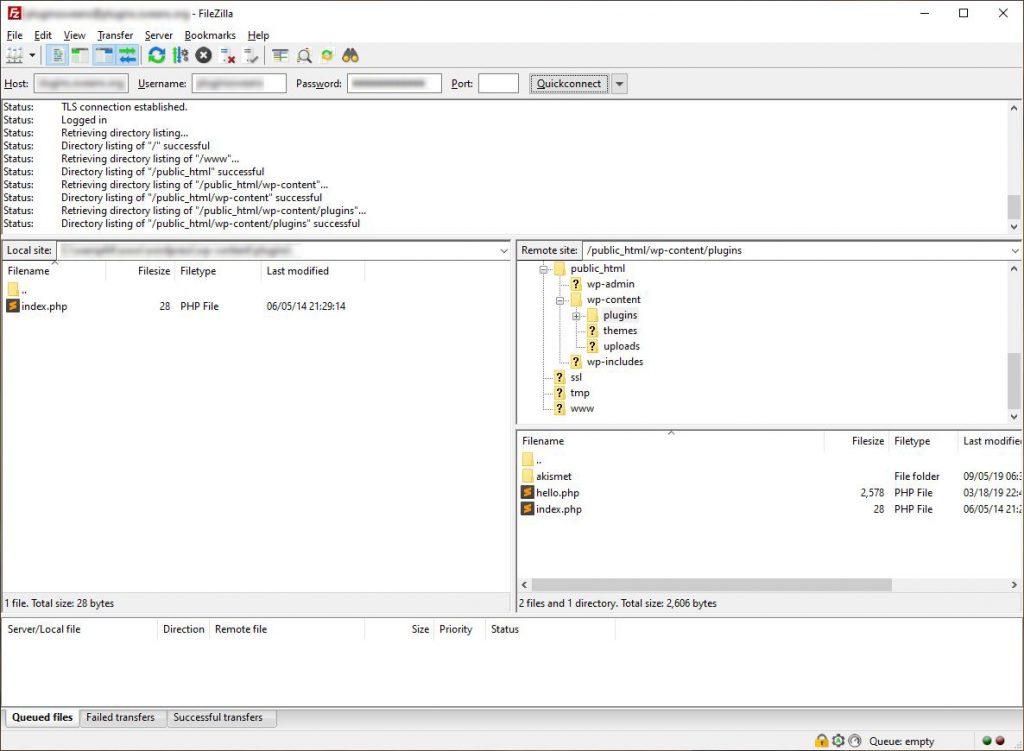
Next, you need to upload the folder you extracted from the zip file to the same /wp-content/plugins directory on the webserver.
After the upload, go to Dashboard and select Plugins. Next, you must click on Activate to activate the plugin.
Finally, you need to configure all the settings which differ accordingly to plugins.
Ready to Go!
We hope you find our article useful. We hope you completely understood our step-by-step instructions and learned the process of how to install the WordPress plugin perfectly! You may also like to check out our article on how to update a WordPress theme without losing customization.


